Most homemade bread recipes make the process sound more complicated than it is. They talk about hydration percentages, autolyse periods, windowpane tests, and scoring techniques before you've even turned the oven on. It's enough to convince someone that bread is best left to professionals.
It isn't. Bread is flour, water, yeast, and salt. The technique matters, but it's not complicated. This recipe is designed to work the first time you try it, with equipment you already have, without any baking experience — and a loaf that costs a fraction of what artisan bread runs at the bakery is one of the small wins that add up when you save money every month. The result is a proper loaf with a golden crust and an open, chewy crumb — not a dense brick, not a pale, soft sandwich loaf that collapses when you cut it.
Understanding what you're doing before you start
Bread baking has a logic to it that makes everything easier once you understand it. You're not just following steps — you're creating conditions for yeast to do its work.
Yeast is a living organism. It eats the sugars in flour, produces carbon dioxide, and that gas is what makes bread rise. It works best at warm temperatures — around 25–30°C — and it needs time. Rush it with too much heat and the yeast dies before it's done its job. Skip the rising time and the bread is dense. Give it the right conditions and the right time and it does exactly what it's supposed to do.
The gluten network — formed when you knead the dough — is what traps those gas bubbles and gives bread its structure. Without it, the gas escapes and the bread doesn't rise properly. Kneading develops gluten. That's why you do it.
That's essentially the whole process. Everything else is detail — though if you're baking every week, pairing the loaf with a bowl of improvised soup is one of the simplest ways to use it.
Ingredients for one loaf
- 500g strong white bread flour (not plain flour — bread flour has more protein and develops better gluten)
- 7g instant dried yeast (one standard sachet)
- 10g fine salt
- 320ml warm water (not hot — test it on your wrist, it should feel comfortably warm, around 35–38°C)
- 1 tablespoon olive oil (optional, adds softness to the crumb)
That's it. No sugar, no milk, no eggs — just the fundamentals.
Step 1 — Mix the dough
Put the flour in a large bowl. Add the yeast to one side of the bowl and the salt to the other. This matters — direct contact between salt and yeast before mixing can inhibit the yeast's activity. Once they're both in the flour and you start mixing, it's fine.
Make a well in the centre. Pour in most of the water and the olive oil if you're using it. Mix with your hand or a dough scraper, bringing the flour in from the sides. Add the remaining water gradually — you may not need all of it. The dough should come together into a rough, slightly sticky mass that clears the sides of the bowl. If it's too dry and crumbly, add water a tablespoon at a time. If it's extremely sticky and won't hold its shape at all, add a small amount of flour — but err on the side of wetter rather than drier. Slightly sticky dough makes better bread than stiff dough.
Step 2 — Knead
Turn the dough out onto a lightly floured surface. Don't flour it heavily — you want the dough to have a little resistance, not slide around on a cushion of flour.
Knead for 10 minutes — physical work that adds up if you bake regularly, which is one reason kitchen floor comfort matters more than most renovators admit. The technique: push the heel of your hand into the dough, stretch it away from you, fold it back, rotate a quarter turn, repeat. It's rhythmic and physical and takes about 10 minutes of consistent effort. Set a timer — 10 minutes feels longer than it is when you're not sure if you're doing it right.
You'll know the dough is properly kneaded when it's smooth, elastic, and springs back when you poke it. Early in the process it will feel rough and tear easily. By the end it should be silky and extensible — it stretches without tearing. That's the gluten network forming.
If you have a stand mixer with a dough hook, 7 minutes on medium speed achieves the same result with considerably less effort.
Step 3 — First rise
Shape the kneaded dough into a ball. Place it in a lightly oiled bowl, cover with a damp tea towel or cling film, and leave it somewhere warm to rise until doubled in size.
How long this takes depends entirely on temperature. In a warm kitchen (25°C) it takes about an hour. In a cool kitchen it might take two hours. In the fridge overnight it takes 8–12 hours — which is a legitimate option if you want to make the dough the night before and bake in the morning.
Don't try to rush this step with heat that's too high. Putting the bowl on top of a warm radiator is fine. Putting it in a hot oven to speed things up will kill the yeast.
A good trick for finding a warm spot: preheat your oven to its lowest setting for two minutes, then turn it off and put the dough inside with the door closed. The residual warmth is perfect.
Step 4 — Shape and second rise
Once the dough has doubled, tip it out onto a lightly floured surface. Press it down gently with your hands to knock out the large gas bubbles — this is called "knocking back" and it redistributes the yeast and evens out the crumb structure.
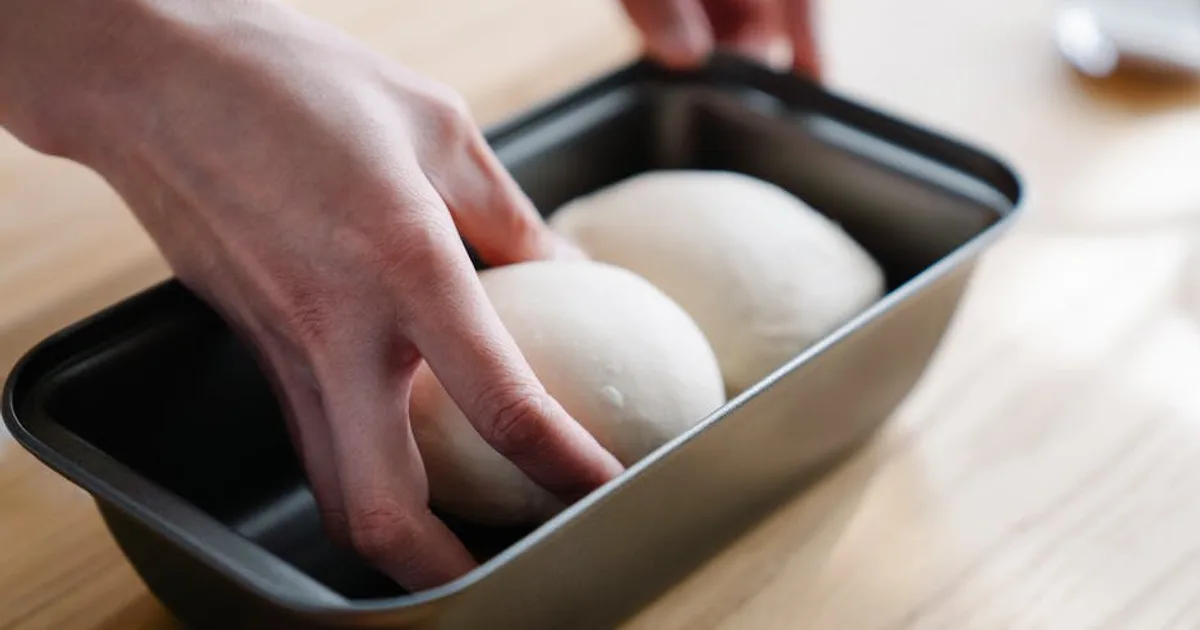
Shape it into a rough oval or round. For a tin loaf, fold the sides in toward the centre, then roll the dough toward you to create surface tension on the top. Place seam-side down in a lightly oiled 900g (2lb) loaf tin.
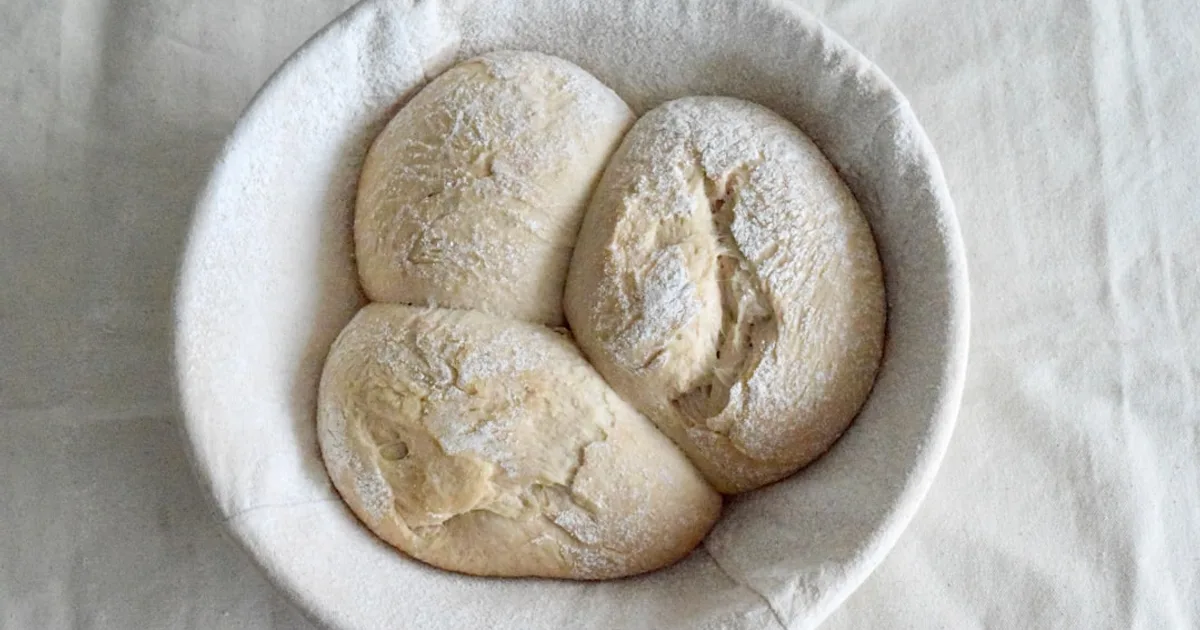
For a freeform loaf, shape it into a tight round — tuck the edges underneath repeatedly, rotating as you go, until the surface is taut. Place on a baking sheet lined with parchment.
Cover again and leave for 45 minutes to an hour for the second rise. The shaped loaf should noticeably puff up but won't double in size — that's normal.
While it's rising, preheat your oven to 220°C (200°C fan / 425°F). Put a small roasting tin or ovenproof dish in the bottom of the oven while it heats up — you'll use this for steam.
Step 5 — Bake
Just before the loaf goes in, dust the top lightly with flour if you want a rustic finish, or leave it plain. Slash the top with a sharp knife or razor — one deep cut down the centre of a tin loaf, or a cross on a round loaf. This isn't decorative; it controls where the bread expands and prevents the crust from splitting randomly.
Slide the loaf into the oven. Immediately pour a cup of hot water into the roasting tin at the bottom and close the door quickly. The steam that creates in the first 10 minutes of baking keeps the crust flexible while the loaf expands, then evaporates to allow the crust to crisp and colour properly.
Bake for 25–30 minutes for a tin loaf, 30–35 minutes for a freeform round. The loaf is done when it's deep golden brown on top and sounds hollow when you tap the bottom — pick it up with oven gloves and knock on the base. A hollow thud means it's cooked through. A dull thud means it needs more time.
Step 6 — Cool before cutting
This is the hardest part. The bread needs to cool on a wire rack for at least 30 minutes before you cut it — ideally an hour. Cutting into hot bread compresses the crumb and releases the steam trapped inside, leaving you with a gummy, doughy interior even if the outside is perfectly baked.
The bread continues cooking as it cools. The crumb is setting during this time. It genuinely improves in the 30 minutes after it comes out of the oven.
Common problems and what causes them
Dense, heavy bread: Under-kneaded dough (gluten didn't develop fully), dough didn't rise long enough, or yeast was old or killed by water that was too hot.
Bread rose then collapsed: Over-proofed — left to rise too long, the yeast exhausted the available sugars and the gluten structure weakened. The second rise especially benefits from watching rather than timing rigidly.
Pale, soft crust: Oven not hot enough, or no steam in the first stage of baking. Make sure the oven is fully preheated and use the steam trick.
Gummy interior: Cut too soon after baking. Wait the full cooling time.
A warm loaf pairs naturally with a bowl of homemade soup or perfect scrambled eggs on a slow weekend morning.
Once you've made this once, the second loaf is easier. By the third, you'll be adjusting instinctively — adding a little more water because the flour is from a different bag, extending the rise because the kitchen is cool. That's how bread baking actually works. The recipe gets you started; the experience teaches you to read the dough.